NGINX is one of the most popular HTTP web server being used in the industry. NGINX ingress controller is an ingress controller leveraging NGINX as its backend to enable dynamic routing within Kubernetes cluster. An NGINX ingress controller allows you to define configuration using simple YAML files following the Kubernetes API specs. In this article, we understand WHY, HOW and WHEN to use NGINX ingress controller in production. In order to demonstrate the complete process, we would leverage an existing AWS EKS cluster. Before we dive into the workings of NGINX ingress controller, let us understand the basic terminologies and architecture of the same.
Kubernetes Terminologies – Decrypting the unknowns
Note: If you are comfortable with the terms Ingress, Controller, Service and Routing – You may skip this section.
This section is dedicated to help the readers new to the Kubernetes ecosystem understand what we are trying to discuss here. To do so, let us start with the simple concept of Ingress.
Ingress
Kubernetes is a cluster of nodes managed by certain application in the control plane. These nodes provide the infrastructure to deploy containerised applications onto the cluster. The incoming traffic to this cluster is called the “Ingress” traffic while calling the outbound traffic as “Egress” traffic. Thus, at a high level, Ingress is a definition of incoming traffic rules and configuration of various parameters like SSL certificate, serving backend, URLs to route to and others. In general, an Ingress for Kubernetes results in creation of a resource that permits external traffic to enter to the application running on cluster nodes.
Controller
A controller in Kubernetes is a specialised application that watches over certain pre-decided resource type. A popular example is the inbuilt Job Controller that watches over jobs and runs pods for the jobs created in Kubernetes. It requires essentials permissions (aka Role or ClusterRole) in the Cluster to watch over the specific resource. This permission is attached to the application in the form of a ServiceAccount. Thus, Controller is an authorised application that can take actions based on a specific resource change
Service
Applications in a cluster exist in the form of pods. Service is a way of abstracting these pods as a collection and providing them a unique name. Services may or may not lead to public exposure of applications depending on the type of Service.
Routing
Routing is a terminology specific to NGINX here. Imagine you have various microservices deployed for user authentication, profiles, payments, shopping cart and others. Now, you are looking to ensure that a request to abc.com/auth/ path is sent to the authentication pods. This is one simple routing rule. A collection of such rules define the routing for an NGINX server. Within the scope of NGINX ingress controller, below is a simple code snippet creating an Ingress with routing rule.
apiVersion: networking.k8s.io/v1beta1
kind: Ingress
metadata:
  name: ingress-myservicea
spec:
  ingressClassName: nginx
  rules:
  - host: myservicea.foo.org
    http:
      paths:
      - path: /
        backend:
          serviceName: myservicea
          servicePort: 80
Now that we are clear about the terminologies, let’s jump onto deploying NGINX ingress controller first to get our hands dirty and then go deeper into when exactly is this going to be helpful.
Deploying NGINX ingress controller to AWS EKS
Pre-requisites
In case you wish to follow this tutorial completely, below are the pre-requisities:
- AWS CLI v1.18+
- kubectl CLI
- wget utility
- Ubuntu/MacOS based system (Apologies Windows users ! )
- EKS Cluster v1.21 server and client version
- Atleast 4vCPU and 8GB RAM capacity of nodes
Once you are setup, lets get started.
Note: AWS EKS installation process is adopted from documentation present here. Feel free to follow other documentation if you are using a different cluster provider.
Configure Cluster credentials locally
Run the below command to configure your EKS cluster credentials to ~/.kube/config for kubectl to use.
$ aws eks update-kubeconfig --name <cluster-name>
Added new context arn:aws:eks:us-east-1:594919422333:cluster/EKSDemo to /home/abhishek/.kube/config
Create Network Load balancer and supporting resources
This step creates roles, service accounts, services and basic controllers required for NGINX ingress controller. Feel free to explore this link for elaborate details on what is created here. Execute the below command and wait until the resources are created:
kubectl apply -f https://raw.githubusercontent.com/kubernetes/ingress-nginx/controller-v1.1.1/deploy/static/provider/aws/deploy.yaml

namespace/ingress-nginx created
serviceaccount/ingress-nginx created
configmap/ingress-nginx-controller created
clusterrole.rbac.authorization.k8s.io/ingress-nginx created
clusterrolebinding.rbac.authorization.k8s.io/ingress-nginx created
role.rbac.authorization.k8s.io/ingress-nginx created
rolebinding.rbac.authorization.k8s.io/ingress-nginx created
service/ingress-nginx-controller-admission created
service/ingress-nginx-controller created
deployment.apps/ingress-nginx-controller created
ingressclass.networking.k8s.io/nginx created
validatingwebhookconfiguration.admissionregistration.k8s.io/ingress-nginx-admission created
serviceaccount/ingress-nginx-admission created
clusterrole.rbac.authorization.k8s.io/ingress-nginx-admission created
clusterrolebinding.rbac.authorization.k8s.io/ingress-nginx-admission created
role.rbac.authorization.k8s.io/ingress-nginx-admission created
rolebinding.rbac.authorization.k8s.io/ingress-nginx-admission created
job.batch/ingress-nginx-admission-create created
job.batch/ingress-nginx-admission-patch created
This is it – NGINX ingress controller is deployed and ready to use. Let us understand the setup at high level now.
Note: A Network Load balancer is used here to support full TCP level 4 traffic routing instead of Application load balancer that works at Level 7 of the network stack.
Understanding the setup
All the resources created above reside in the Namespace: ingress-nginx. Let us understand the purpose of each resource type thats created
ServiceAccount: Service accounts to be attached to be attached with admission controller and ingress controllers
ConfigMap: Configuration for the ingress controller
Roles & ClusterRoles: Role with permissions to access cluster resources. NGINX ingress controller and admission controller requires permissions for scanning the resources within the cluster. These roles provide the permission to do so. The roles are eventually attached to the service account.
IngressClass: This resource was recently introduced as part of v1.0+ NGINX ingress controller. This will be further referenced into Ingress resources
ValidatingWebhookConfiguration: This is a configuration validation resource that calls the required validators for resources that are of type networking.k8s.io. Basically, it ensures that the resource being created has valid NGINX ingress configuration if any.
Deployment: NGINX Ingress controller deployment is the only application that gets deployed to perform the actual routing and internal NGINX configuration using the lua-nginx-module for dynamic configuration.
Jobs: This is the final set of resources created above. The jobs are responsible for creating/patching certificates for the Kubernetes webhooks and update the caCert at the same time.
Using NGINX Ingress Controller
Kubernetes has a very simplified way of creating an application load balancer using Ingress for every app backend. It can be used to expose the application to the outside world very easily. Thus, the question arises – What is the need for a custom ingress controller?
The Why factor
There are three major reasons for this approach:
- Lower costs: When we create an Ingress/service of type LoadBalancer, it creates a new Load balancer for each ingress/service thats created. A load balancer on AWS leads to recurring costs. As a benefit, we get high traffic handling capabilities. However, for low traffic usecases, paying a constant cost for multiple application loadbalancers is not wise. This is where NGINX ingress controller comes into picture. It creates just one Network load balancer for traffic intake and routes traffic based on the configured rules. Multiple domains can point to the same Ingress and still have traffic routed to respective backend services.
- Relative path routing: NGINX Ingress controller can provide host and path based routing within the same
Ingressresource. Thus, a single ingress definition can capture all the routing rules easily. - Custom security and server configuration: NGINX ingress controller provides granular control over security parameters like max request size, parameter count and request rate. Additionally, it also provides server configuration access to set timeouts, log control, log formatting and others.
Taking on a test ride
Finally, let us deploy a sample application and try to route the traffic to it via NGINX Ingress. Run the below command to deploy a sample hello-world example from Google Apps repository.
kubectl create deployment hello-world-rest-api --image=gcr.io/google-samples/node-hello:1.0 --port=8080This creates a deployment with port 8080 exposed from the container. To validate that the pod is started successfully, execute the below set of commands:
$ kubectl get pods
NAME                                    READY   STATUS    RESTARTS   AGE
hello-world-rest-api-6d79fdf758-bxlg9   1/1     Running   0          33s

$ kubectl port-forward hello-world-rest-api-6d79fdf758-bxlg9 8080:8080
Forwarding from 127.0.0.1:8080 -> 8080
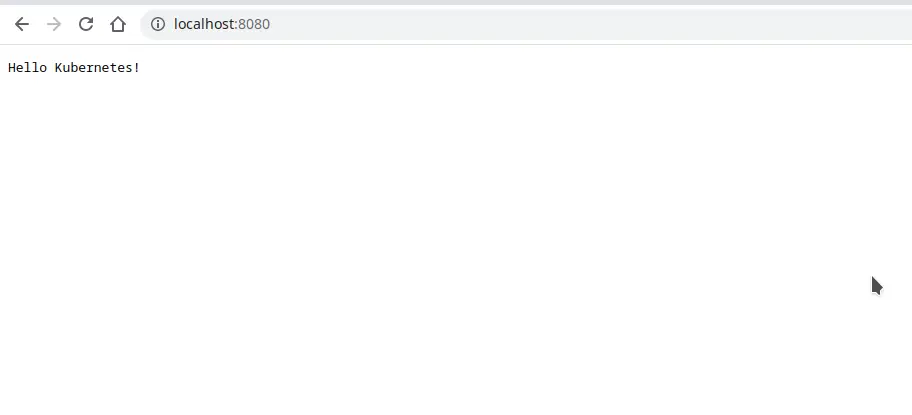
Replace the pod name to match yours. Once the port forwarding is done, go to your browser and hit the url http://localhost:8080. You should see a message Hello Kubernetes! as shown below

Let us create the service and Ingress for the deployment now. Create the below file.
service-ingress.yaml
apiVersion: v1
kind: Service
metadata:
  name: hello-world-service
spec:
  ports:
  - port: 8000
    targetPort: 8080
  selector:
    app: hello-world-rest-api
---
apiVersion: networking.k8s.io/v1
kind: Ingress
metadata:
  name: hello-world
  annotations:
spec:
  ingressClassName: nginx
  rules:
  - http:
      paths:
      - pathType: Prefix
        path: "/"
        backend:
          service:
            name: hello-world-service
            port:
              number: 8000
Notice the ingressClassName above – Its nginx. The definition is quite self-explanatory. It sends all the traffic coming for / path to the service hello-world-rest-api which inturn gets response from the sample app that we just deployed. Apply the YAML file using the command below
kubectl apply -f service-ingress.yamlNGINX Ingress controller reads the ingress configuration and auto-configures the NGINX router. Get the DNS name of the Load balancer associated with NGINX ingress using the below command:
$ kubectl get ingress -A
NAMESPACE   NAME          CLASS   HOSTS   ADDRESS                                                                         PORTS   AGE
default     hello-world   nginx   *       ad2430ec23bfd4e5db3d7702e92dd5d2-527c235da9f35541.elb.us-east-1.amazonaws.com   80      56s
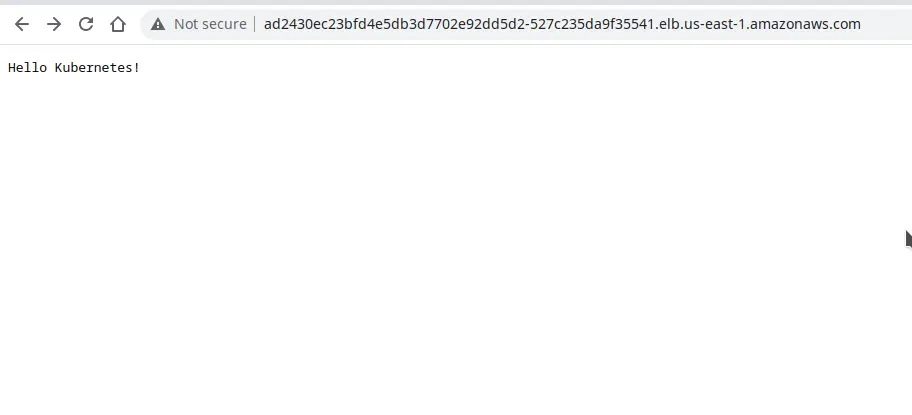
The DNS name displayed here is the address using which you can access your application. Let us give it a shot

The access via Ingress works as shown above. In this manner, you can create multiple ingresses or multiple path rules and define routes to various microservices.
Drawbacks
Although the approach to this is absolutely straightforward, there are certain definite drawbacks of using NGINX ingress controller.
- Traffic Limitations: The ingress controller utilises compute from Kubernetes Cluster. Thus, it needs to scale using the available compute and it might lead to eventual limitations. The scaling might not be able to support heavy spikes of traffic
- Security ownership: In AWS Application load balancers, the responsibility of security against standard DDoS, phishing or other attacks is handled by AWS to a great extend while ensuring rapid scalability. In NGINX ingress controller, the security becomes our responsibility. Any downtime or break in the cluster could lead to massive impact.
- Knowledge of NGINX: Cloud native Developers are not always comfortable with server configurations like NGINX or Apache. The NGINX ingress controller based approach requires critical understanding of the NGINX configurations to be able to resolve issues like timeout, max body size exceeded and others.
Conclusion
Despite it all, NGINX ingress controller is by far the most popular ingress controller that is used in production. People do have different approaches to tweak the implementation but NGINX still remains at the core of the implementation. In this article we tried to capture a complete high level understanding of NGINX ingress controller. Unfortunately, we were unable to cover in-depth NGINX configuration to keep the length of article in check. In the next article, we plan to dive deeper into what are some important configurations that you can do to secure your NGINX. We will also take a look at more complex ingress configurations.


Great post!